Welcome back!
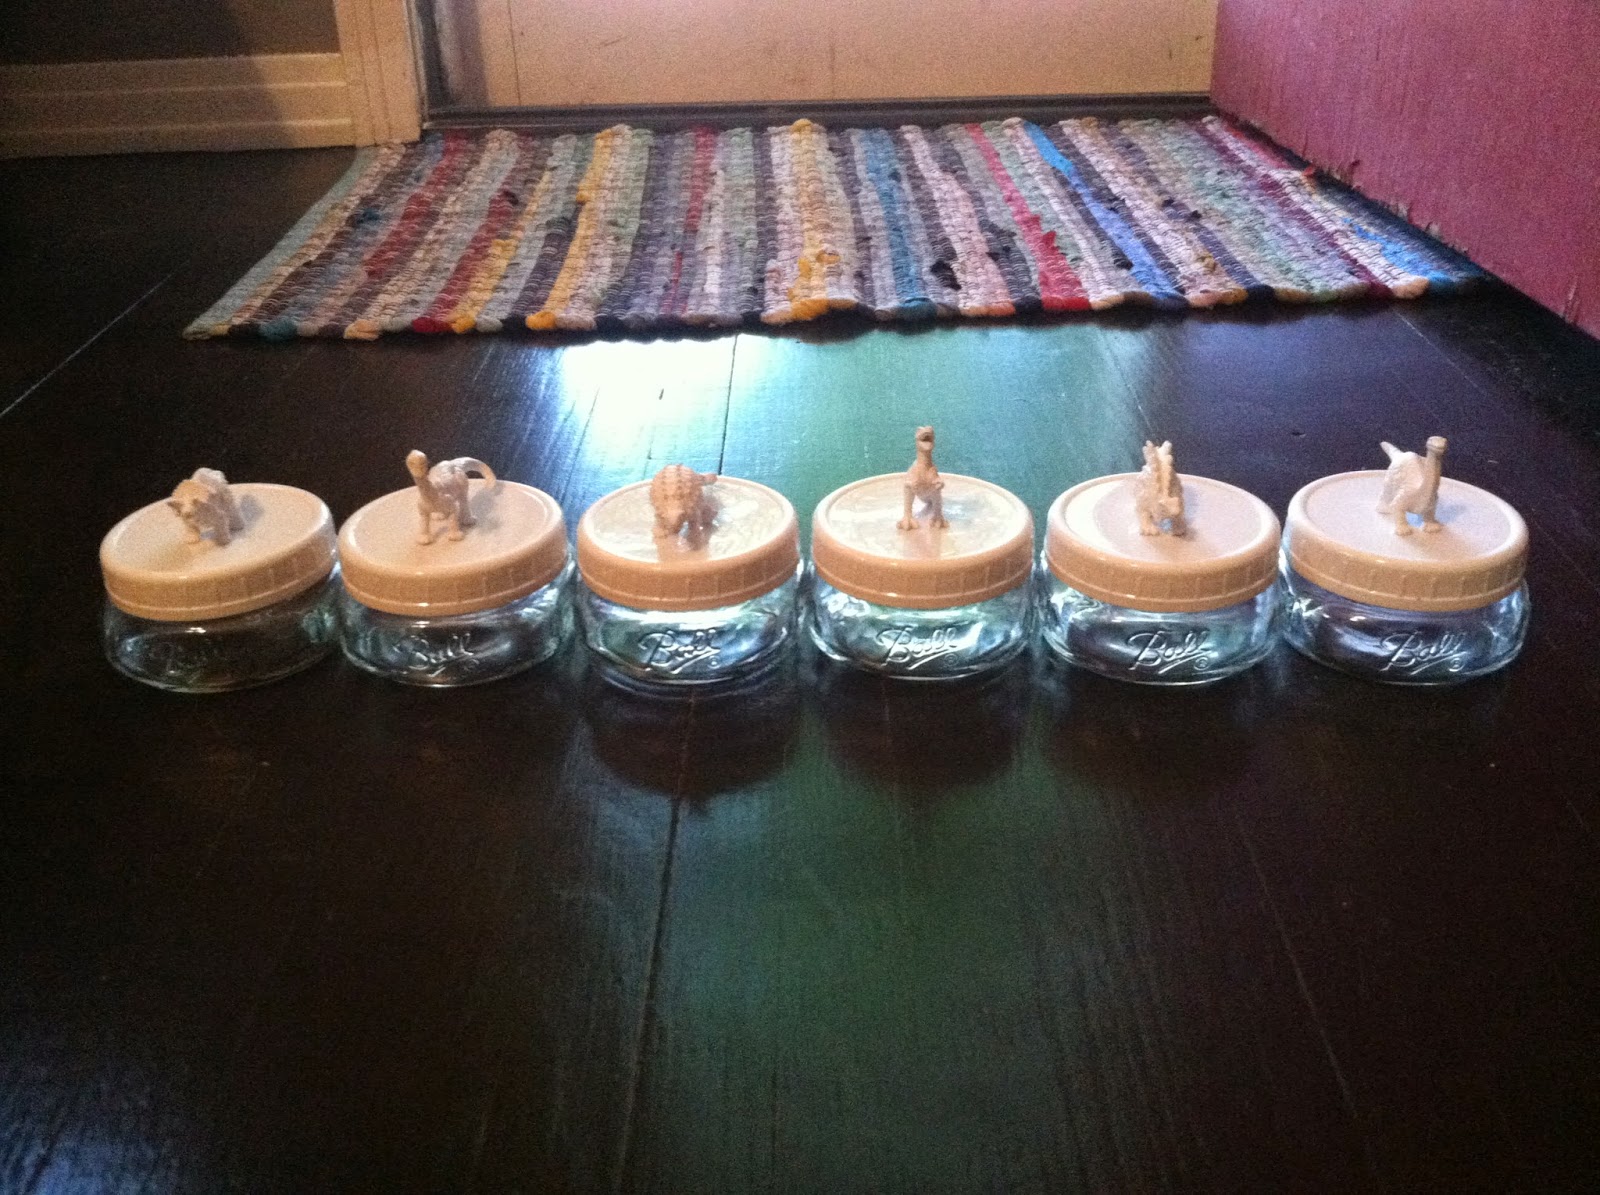
Today I will be showing you all how to make Monochromatic Dino Jars for our first DIY of Summer 2014.
This is a great project to do to create storage for your kids using their old toys or...
for the fun loving adult that still loves them some Land Before Time.
Okay, maybe that's just me.
Either way, it's an easy way to create some cute storage for any room in the house!
So here it goes...
You will need:
- small plastic animals of your choice
- Mason Jars
- spray paint of your choice
- plastic storage caps (optional)
The first step is to spray paint the toys the color you have chosen!
For full coverage COVER them well on all six sides.
Yes, the left side, right side, front side, back side, top, and underneath.
Also make sure you follow the directions on the can on how long to wait in between coats.
If you are impatient like me, you may end up with sticky Dinos if you don't let coats dry long enough between the next one.
See super cute!
Next up is the lids. You have a couple choices here.
I chose to buy the white plastic storage caps for $3.50.
They just looked so much crisper and I didn't have to worry about spray painting them to match! Win, win.
If you go this route just make sure the width of the lid matches the jars you have.
Your other choice is to use the lids that come with the Mason Jars and spray paint them to match the color you chose for your Dinos, or other toys.
We are almost done already!
The last step is gluing the Dinos to the lids.
I used this Super Glue because it said that it works best on plastic and would be completely clear when it dries.
You just simply put TINY dots on their feet and let them settle.
Now, I wasn't very impressed with how sturdy they are on the lids... but it still got the job done for me. If you are using this projects for kids, I would definitely suggest something like a hot glue gun or even Gorilla Glue to really make them stay in place.
As always, be careful of the glue drips... unless you like peeling off your fingerprints.
TADA!
What I love about Mason Jars is that there are many different sizes, but most have the same size of mouth on the top. So you could get these plastic caps and use the bigger jars for even more storage!
I hope that you find this project as fun as I did!
I plan on using these for storage for craft supplies on my pegboard organizer... which is another fun project I can't wait to share!
What would you put in your fun new Mason Jars?
Please let me know! :)
And I leave you with the laughing T-Rex.
Creatively Yours,
Audra


No comments:
Post a Comment